Miniature Wargames with Battlegames Issue 375
Posted: June 30, 2014 Filed under: Wargames publications Leave a comment
The articles included in this issue are:
- Briefing (i.e. the editorial) by Henry Hyde
- Forward observer by Neil Shuck
- Bargain boats: The continuing tales of a wargames widow by Diane Sutherland
- Fantasy Facts: … with added fantasy for a change! by John Treadaway
- The trouble with dragoons: Reappraising problematic late C17th cavalry by Barry Hilton
- Send three and fourpence by Conrad Kinch
- Collecting Featherstone: One man’s shrine to the great Don by Daniel Borris
- For want of a horse: Ponsonby at Waterloo by Arthur Harman
- The Secret Eye Candy Page: Partizan in the Park 2014 by Henry Hyde
- Who needs army lists? What unit is that – and do I really care? by Andy Copestake
- The Mongols in Europe 1237-1241: Part 2: the Polish Campaign by Mick Sayce
- Bannockburn reborn: the new Bannockburn Visitors centre by Paul Bright
- Jeux sans frontières: Cure the most annoying wargaming problem by Franz Ehart
- Hex encounter by Brad Harman
- Wars of Absolutism part 2: Game narrative – the Cuneo campaign 1744 by Roger Underwood
- Recce
- The Battlegames Combat Stress Appeal report by Henry Hyde
The Land of the Midnight Sun
Posted: June 29, 2014 Filed under: COW (Conference of Wargamers), MIscellaneous musings 4 CommentsThese travel-related blog entires will be appearing over the next week or so, along with the normal sort of blog entries that I write. The latter will include a brief run-down on the latest issue of MINIATURE WARGAMES WITH BATTLEGAMES and a description of the latest issue of WARSHIP annual.
My most important pre-occupation for the next fortnight will be preparing for COW2014 (this year’s Conference of Wargamers). It starts on 11th July and ends on 13th July, and at present we expect to cater for over well forty attendees. I have the programme ready to take to the printer tomorrow, and it will be sent out to attendees by the end of the week.

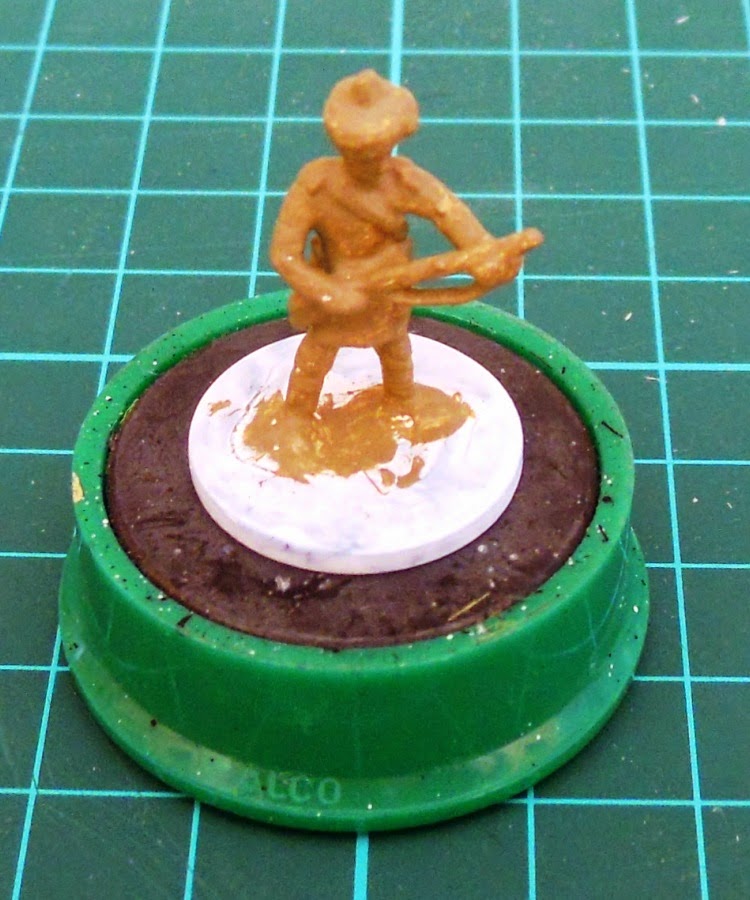
Painting Figures: Another experiment
Posted: June 27, 2014 Filed under: Painting 20 CommentsI used almost exactly the same method as I used for my recently-painted Jacklex figures … and the result looked like this:


The Nut Brown Indian Ink does add shadowing … but I think that the darkening effect is too great. As a result I think that I may well miss that stage of the process out when I paint my next figures.
(Note: Most of the paints I used on this figure were craft acrylic paints bought in a local craft shop. I found them to be just as easy to use as specialist modelling acrylic paints … but they were a LOT cheaper!)
Painting Jacklex figures: Day 7
Posted: June 25, 2014 Filed under: Painting Leave a comment
I had not used this painting process for a very long time, and I have re-learnt some useful lessons. Using Nut Brown India Ink is a quick and simple way to shade a figure … but the colours used to paint the figures have to be lighter and the detail more pronounced in order for the full effect not to be lost.
Painting Jacklex figures: Day 6
Posted: June 24, 2014 Filed under: Painting 8 CommentsThe base of each figure was then painted. I used Yellow Ochre as I think that it looks better on the tabletop.

Painting Jacklex figures: Day 5
Posted: June 23, 2014 Filed under: Painting 2 CommentsThe ink was allowed to run into the undercuts etc. on the figures, and any surplus ink was removed using a brush that was regularly wiped clean.

I then let the ink dry overnight. (N.B. This is very important as the ink has to be absolutely dry before the next stage of the painting process can take place.)
Painting Jacklex figures: Day 4
Posted: June 22, 2014 Filed under: Painting 2 Comments- Brown boots
- Red point on top of the turban
- Red or Green shoulder straps (four figures had red and four had green)

I then let the paint dry overnight.
Painting Jacklex figures: Day 3
Posted: June 21, 2014 Filed under: Painting 6 Comments
I then put each figure onto a display magnet. (These are sold in packs in large office supply stores and stationers.) I use display magnets because they are easy to get hold of when I am painting … and the figures don’t move around on them thanks to the steel pennies I have based each figure on.
I then began the process of painting on the details. The order I did this in was as follows:
- Brown belts, water bottle, and bayonet scabbard
- White haversack
- Dark brown rifle and sling
- Brown face and hands (in retrospect I realise that I should have used lighter shade of brown for the skin areas)

I then let the paint dry overnight.
Painting Jacklex figures: Day 2
Posted: June 20, 2014 Filed under: Painting 2 Comments
Painting Jacklex figures: Day 1
Posted: June 19, 2014 Filed under: Painting 2 CommentsNow I am no great shakes as a figure painter (my figures often look like they have been painted by a gorilla with a 6-inch brush!), and have not painted any figures from scratch for a very long time. I decided, therefore, to see if I could make a reasonable job of these simple figures using a technique that I used many years ago … and the following blog entries will describe my progress.
The first step was to clean the casting up using emery paper and modelling files. As the bayonets were either badly bent or broken, I removed them. I then washed the figures to clean off any dirt, and once they were dry I superglued them to steel pennies.
I then primed them using a brush and Humbrol matt black enamel paint.

